
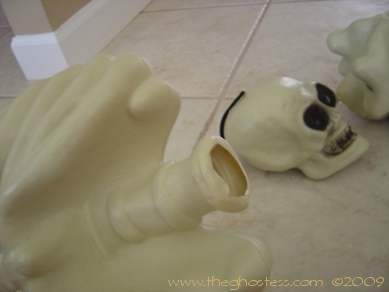
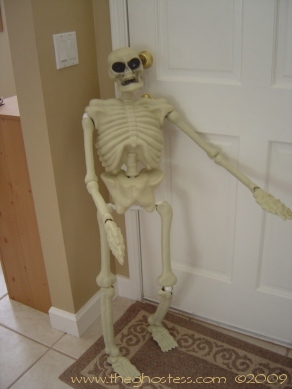
This page will show you how to make your skeleton stand up on its own. Be sure to be super careful when cutting.
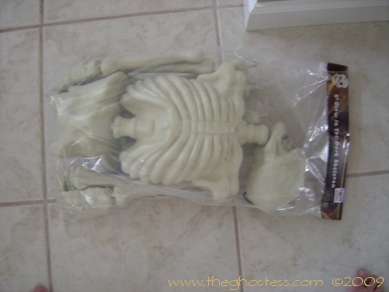
Materials: Blucky
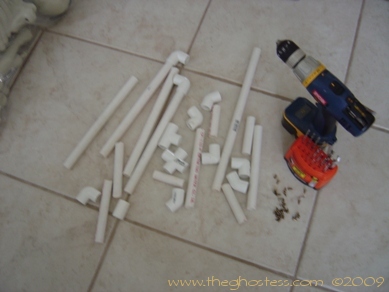
1/2 inch PVC, 1/2 inch fittings, short (1/2 inch) machine screws, PVC cutter, Xacto Knife or box-cutter type blade and screwdriver/drill
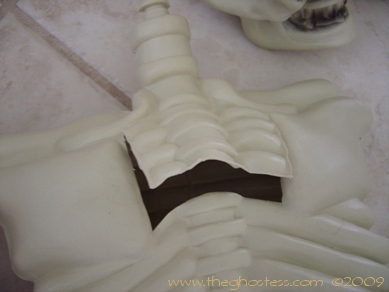
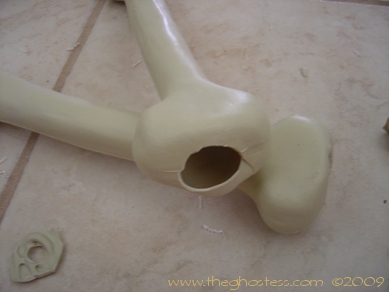
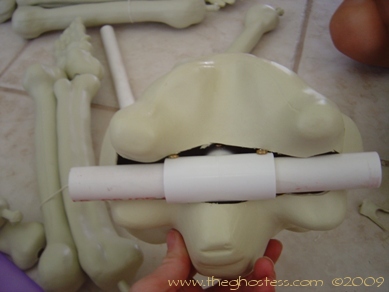
I cut the opening in the back to make it like a hinge opening.

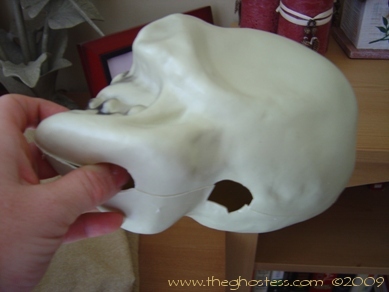
I cut an opening to fit the hip section.
It's important to make the spine and neck pieces long enough to also hold the skull and hips on. I cut the spine to be about 11 1/2 inches long, and the neck about 7 inches.
Cut openings in top and bottom of spine on torso
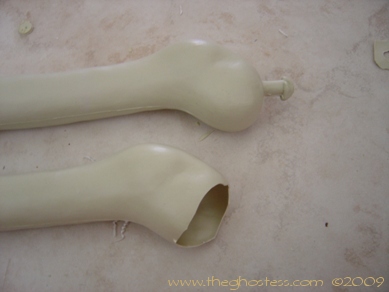
I cut PVC to fit the hips, about 2 inches long each side. This picture is not an accurate size model.. lol
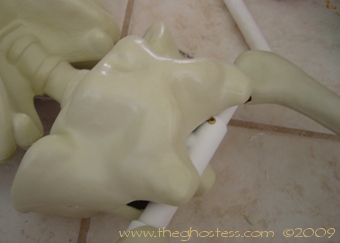
Then I attach the hips section to the spine and screw it together.
I put the hip and spine section thru the plastic hips, and up into the spine.
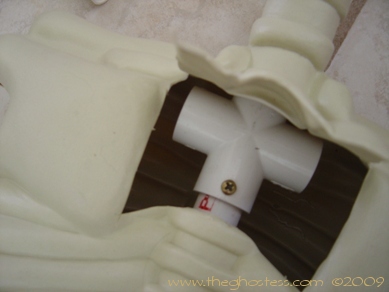
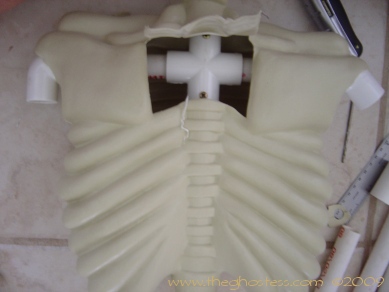
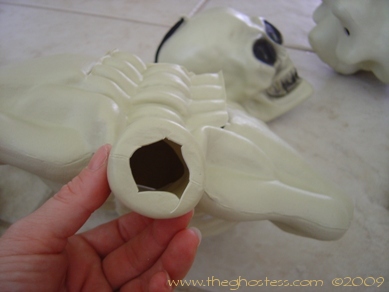
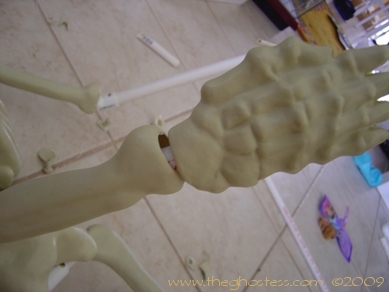
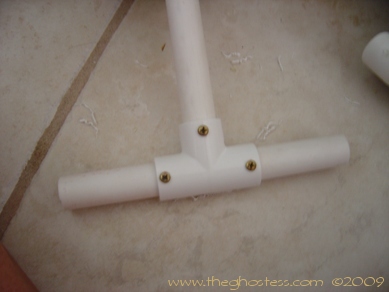
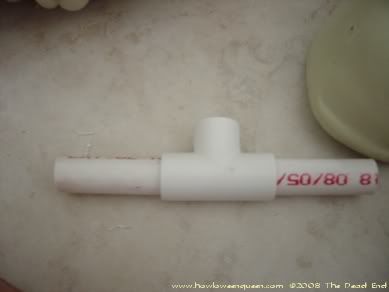
Cut some pieces of PVC for the shoulder. These are about 4 1/4 inches long. Attach the fitting and screw in.
Then I inserted the shoulder pieces and secured them with the screws to the + inside the torso.
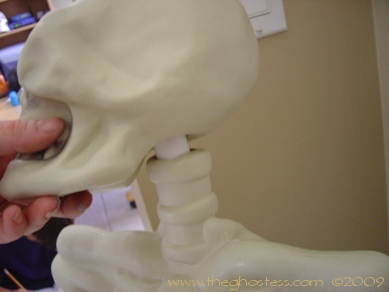
At the top of the spine, I screwed the pipe into the fitting through pre-drilled holes.

I insert the neck piece of PVC and secure it with a screw as well.
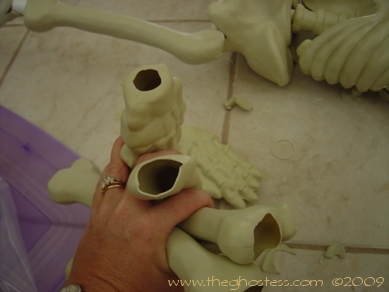
Cut some sections out of the top leg pieces to fit the PVC, and some holes in the bottom of the leg pieces.
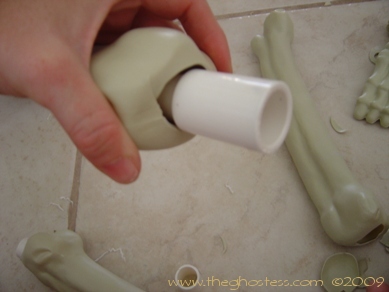
I cut my upper leg pieces of PVC about 11 inches long, added the fitting and screwed it on.
Then I slipped the bone over the PVC....
...and attached the legs to the hip section.
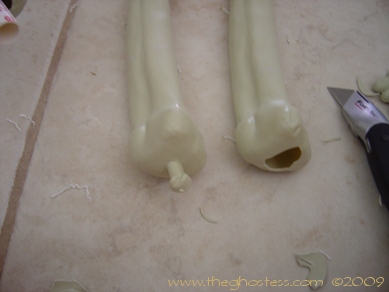
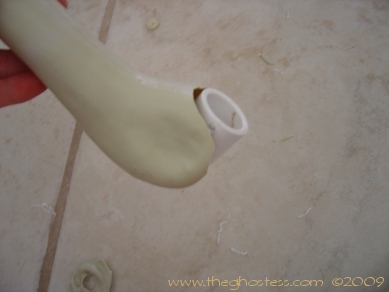
Next, I cut the holes in each end of the lower leg pieces of bone.
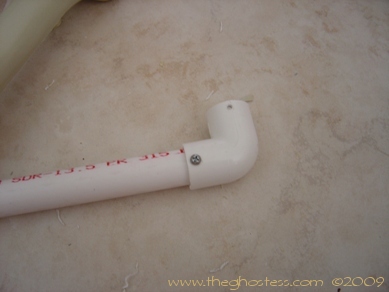
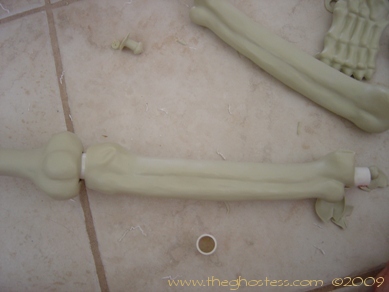
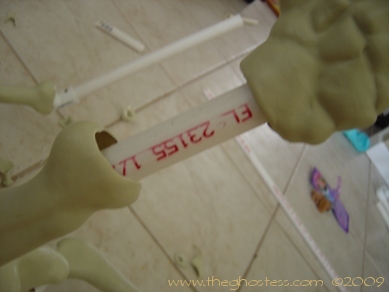
I attached the PVC fitting to the upper leg piece that I already added. It depends on what pose you are doing, here I used a straight coupling because I am making this Blucky stand up... however, if I want to change it to a sitting pose, I can just unscrew it and change the fitting. The lower part of leg's PVC was about 12 1/2 inches long.


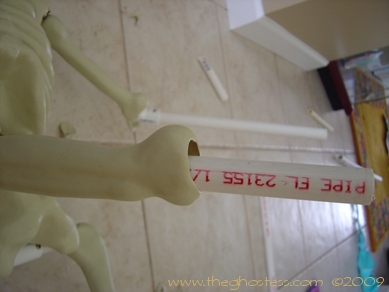
Same thing with the other leg, only I used a 45° fitting to give the knee a bend as if he were walking.
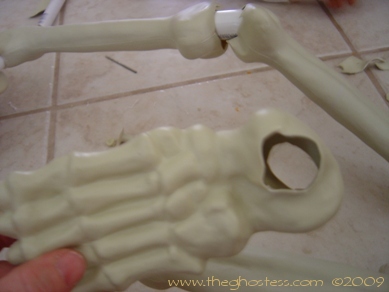
I cut holes all the way through the feet, since this one will be standing in the grass. I just use rebar to hold them up. Pound a 2 foot section of rebar in the ground, and slide the blucky's foot over it, then the PVC in the leg over it.


![]()
![]()
All information contained on this website www.theghostess.com is provided for FREE, is intended for entertainment purposes and general sharing, and may not be reproduced without express permission from the website owner. If you have been sold information regarding or taken from this website, please contact the admin at the link in the navigation menu. Copyright 1999-2015, The Dead End.
 |
|||
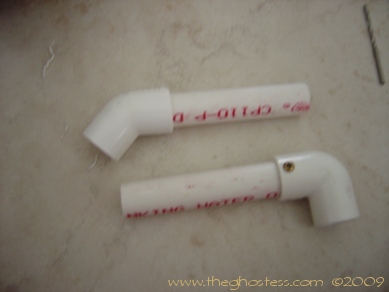
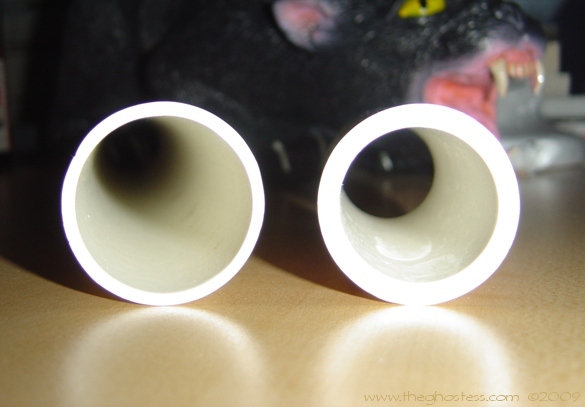
**Just a little side note fore reference on PVC** The difference between schedule 40 PVC (pictured right) and the other stuff SDR13.5 (pictured left) is that the schedule 40 is thicker and costs more. BOTH of the PVC pipes above are 1 inch pipes. Schedule 40 is more rigid and durable. I used SDR13.5 on most of my props, but for something that will require a heavy loadbearing, I use schedule 40. I use schedule 40 on the legs of all of my PVC dummies because the legs are the ones most likely to bow from the weight. |
|||
