
EDITED Jan 1, 2009:
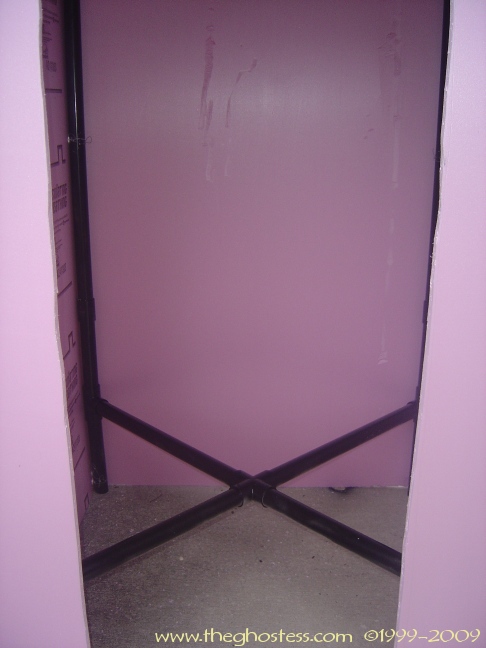
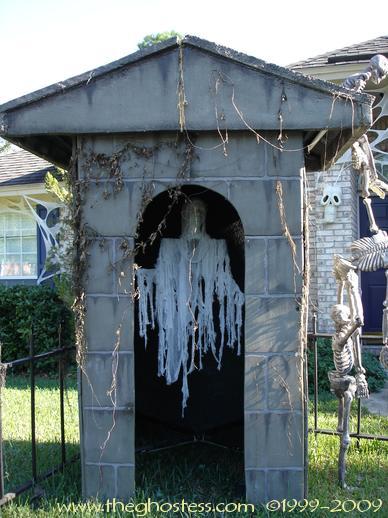
I decided on making a crypt for my FCG Helena in 2005. I made a PVC frame from 1 1/2 inch schedule 40 PVC using plans from a fellow Hall-L list member, Edye. Her page can be seen here . I modified the top of it a bit with cross braces to attach the FCG motor frame. I also left off the bottom part of the frame since mine will be in the grass. I used 1 inch screws to secure everything together at each joint. I can totally disassemble the frame into manageable sections by removing 10 screws and can fit the entire thing in the attic. Unfortunately, I did not take measurements on anything, so I'll have to wait until the 2009 season to measure it all for those who've asked about it. I used Kick the Fog's instructions for the FCG itself, but I had problems with the measurements for the motor mount and had to redjust the whole thing after I'd already cut and drilled everything. I suggest making sure your measurements are correct for YOU before drilling and cutting. They don't sell that particular Dayton motor any longer either, so that will make a big difference ( you can get a really good motor from MonsterGuts.com - GREAT customer service and I HIGHLY recommend doing business with Dean!!!). Also, you don't need to use the aluminum stock for the frame, you can use wood. You will need only the flat aluminum stock for the arm that attaches to the motor. I also do not use the pulleys on my FCG rig, just the eye bolts. I use plain old 30 pound test fishing line and just run it through the eyebolts. Sometimes the line makes a really funky screeching noise, but a little spray of Pam cooking spray takes care of that (and is more eco-friendly than WD-40). I think it cost me around 60 bucks or so to make the FCG and rig. The crypt probably cost about $80 or so before I added the OSB in 2006, but that's mainly because of the foam cost. Each section of pink foam is 12 bucks and the white beaded for the roof is 13 (used 1.5 sheetsfor that). Add in 7 bucks per sheet of OSB (4 sheets) in 2006 and it comes in around 100.00 for the whole crypt. I'm sure there's a cheaper way to do it, but I'm happy with what I have. :)
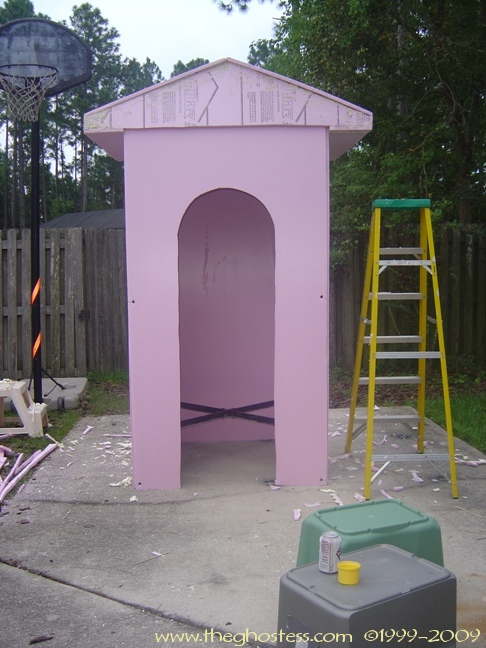
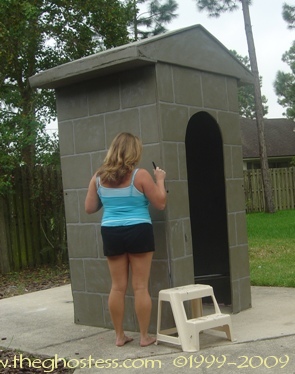
I used the router attachment with the Dremel to carve the stone block look. I sanded the whole thing with a palm sander to make the surface a bit more paint-friendly. I got some Oops paint at Home Depot in a kind of green-grey color, so I decided to use that for a different look than everyone else. I used a roller to paint it on, then went back and painted the "grout" area a lighter grey color. Then I took a damp sponge and rubbed the lighter grey all over the crypt for a more stone color and appearance. Now I'm using a cheap paintbrush and dry-brushing some black on the stones to make them look aged and mildewed some.
My son painted the interior black for me.
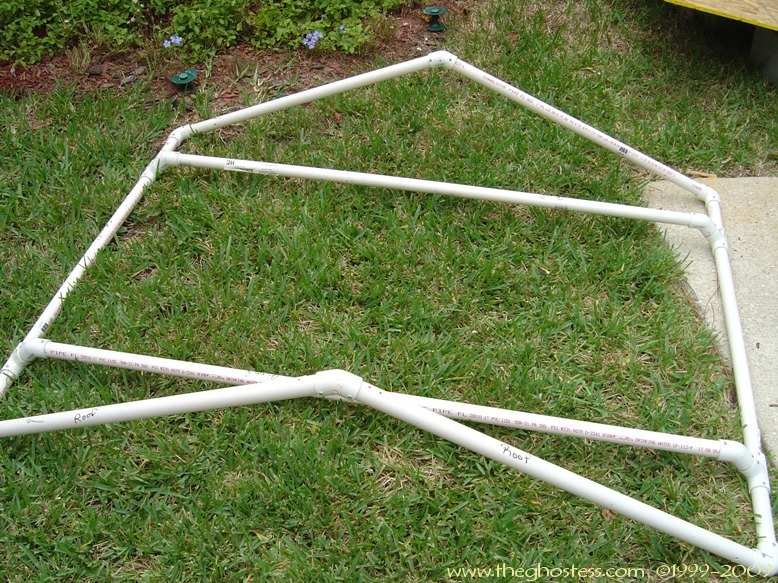
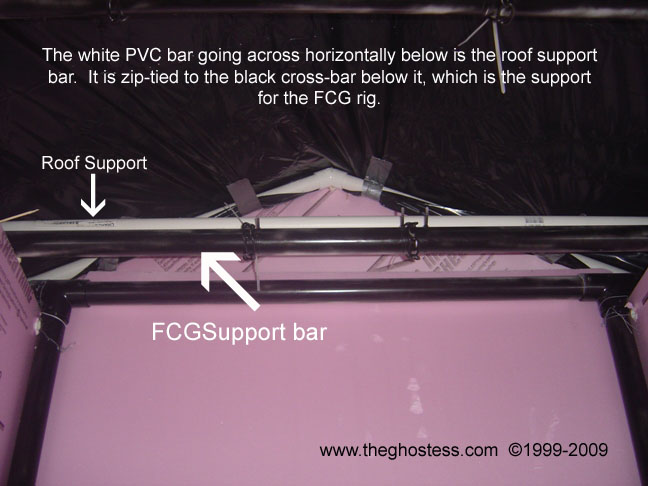
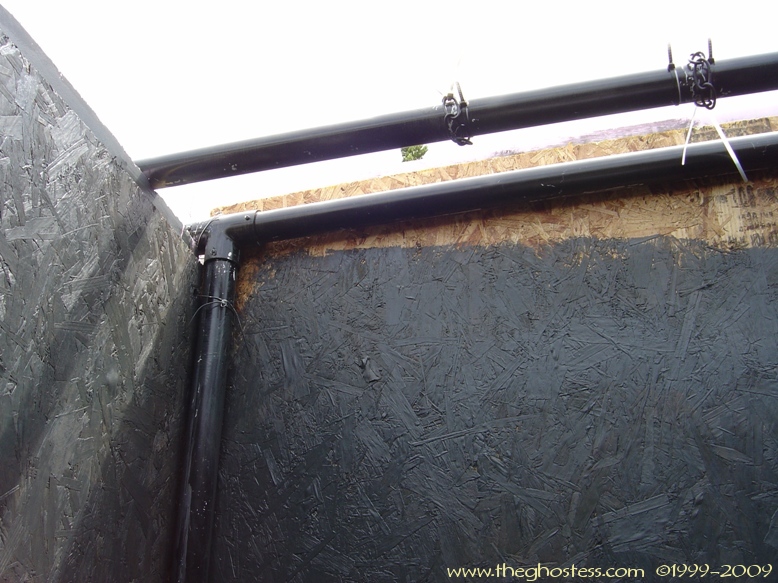
Now I have a decent picture of the roof frame. I just kinda pieced together the roof with Styrofoam for 2006 since I had to rebuild it. I used bamboo skewers, Great Stuff, and Gorilla Glue to hold it together; and Zip Ties and home made grommets from paint can lids to hold the styro to the frame.
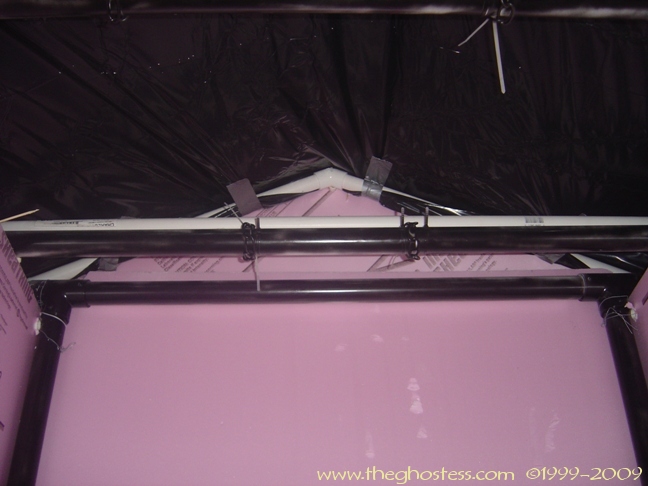
All of the roof structure is made from 1" PVC since I had a lot of that laying around. After I got the frame for it built, I covered the top of it with some black plastic to help keep any moisture from leaking through and used duct tape to attach it to the PVC. Then I cut my foam board for the 2 top pieces to fit the top and attached it using Great Stuff foam adhesive and the grommets and zip ties. The Great Stuff was sprayed right onto the black plastic, then I put the foam board on, then the grommets and zip-ties at the corners.
Then I picked up the roof and sat it on top of the crypt frame. It fit perfectly on top with the crossbars that I made, and I attached it to the FCG support bars with the zip-ties. I cut some triangle pieces of foam for the front and back of the roof and attached them with bamboo skewers and Gorilla Glue to the 2 big roof styro pieces along the edges. On the eaves, I cut some pieces to fit the sides and used the Gorilla Glue and skewers to attach them, and secured it while it dried with bungee cords. I just pushed the skewers in through the foam board into the other foam board it's glued to and that held really well. The only problem with using the Gorilla Glue is that it expanded, so I had to Sand it all down again when it was dry.
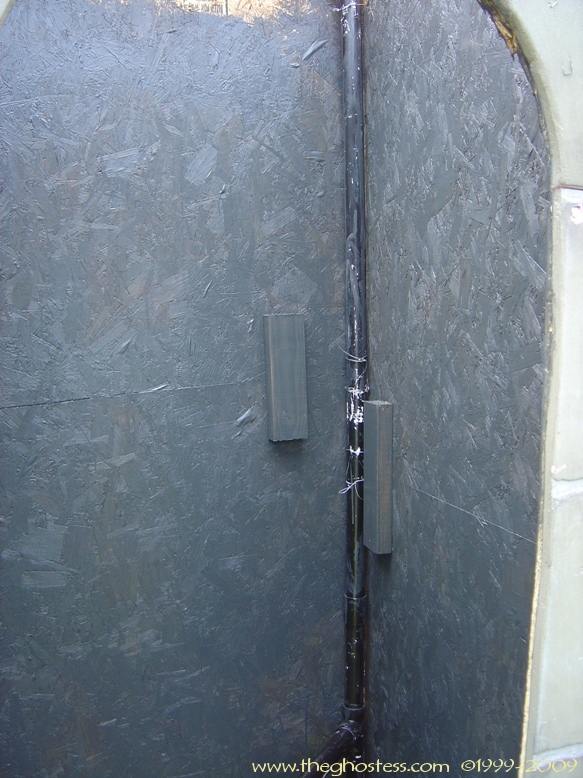
To the left is the picture of my homemade grommets. I just cut some plastic strips out of some old containers and poked holes in them, then slid 12 gauge wire through them into the foam then around the PVC under the roof to hold it together.
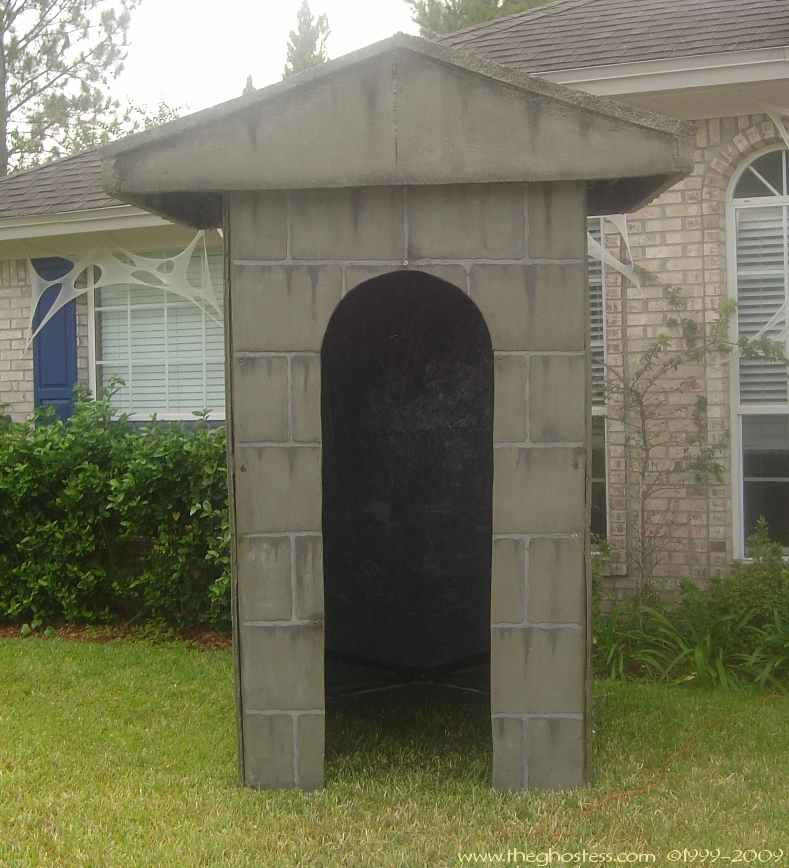
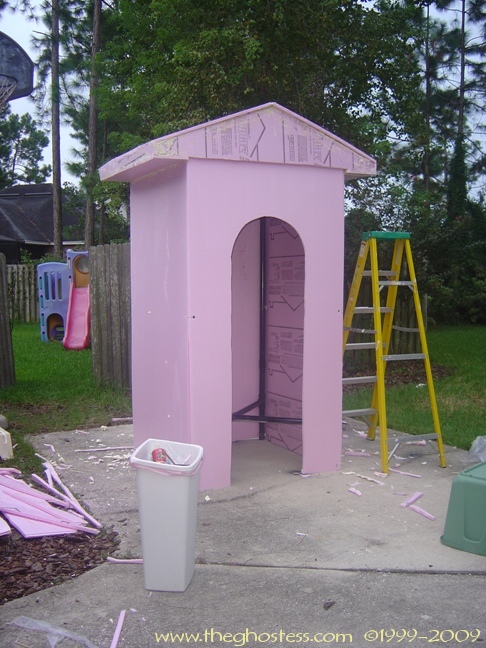
The crypt is much sturdier this year. It has more gaps and stuff, but those are easily filled with vines and Spanish moss.
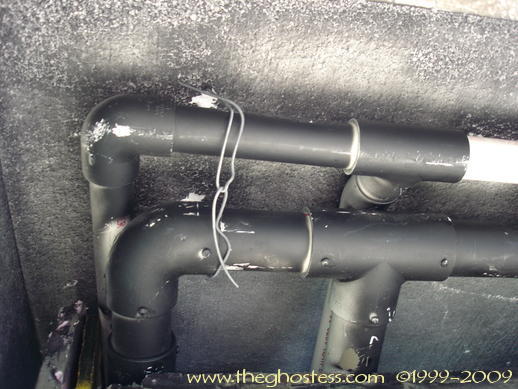
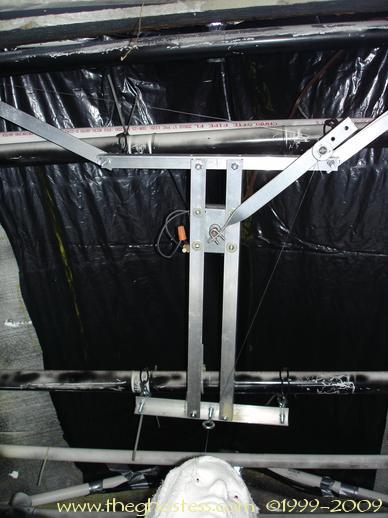
I made sure to take some extra pictures after the 2007 season to show more detail in how I did a few things. In the picture below, you can see the FCG rig in place. I use some scrap sections of chains placed along the top brace sections of PVC on the crypt to hold the FCG up. I wrapped the 4 pieces of chain around the PVC and used zip-ties to hold them together, then I used caribiners to connect the chains to the eye bolts on the FCG rig.
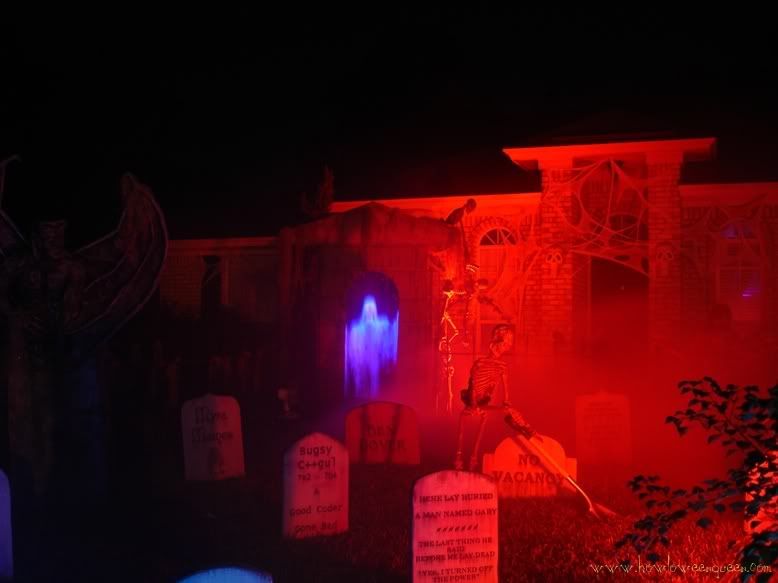
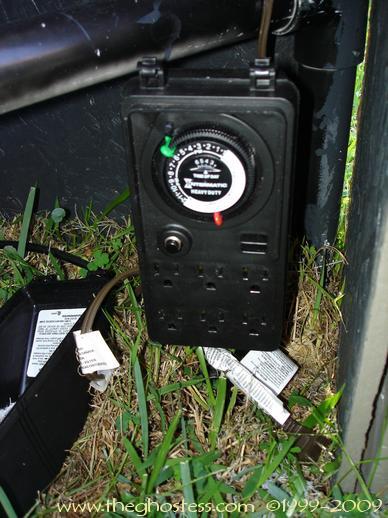
To power everything, I use an outdoor timer power stake. I got it at Home Depot for like 15 bucks I think. This one has a cover to it and everything.
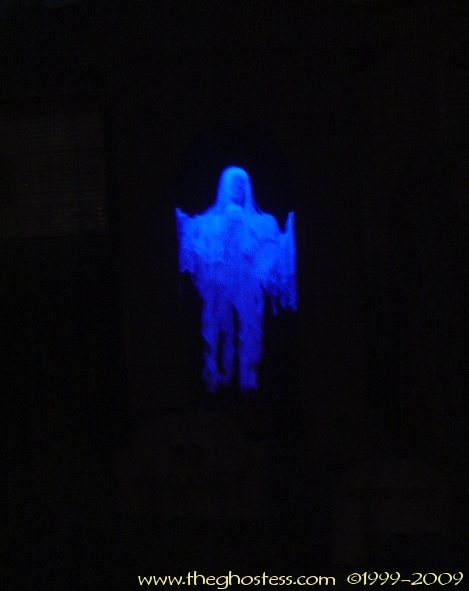
I thought I took pictures of it, but I guess I didn't... I also used zip-ties to secure the blacklight strip to the front section of PVC on the main frame so the FCG would glow a nice blue. I'll try to remember to take pictures of that during the 2009 season.