
CONTINUED from previous page
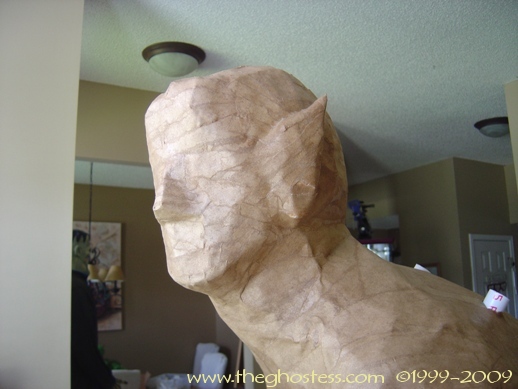
I papered his head and neck. I'll be shaping him more today.
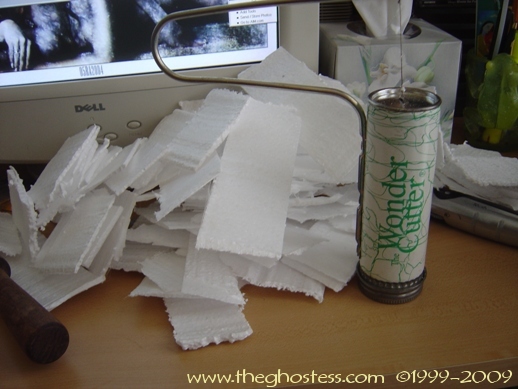
9-3-05: I used a WonderCutter to carve off some thin wafers from a styrofoam board scrap. I'll be using these to create facial features and muscle tone. (And NO, that's not porn on my computer screen in the back ground; It's a friend's artwork called "Gemini Twins".)
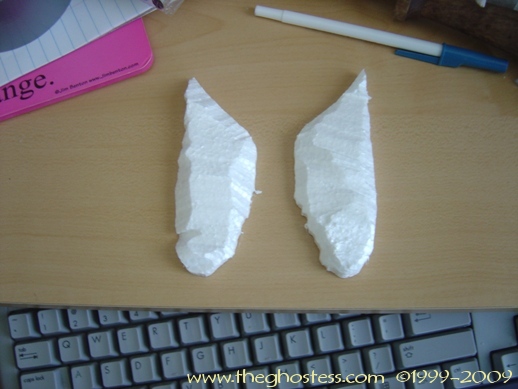
I used the WonderCutter to cut some ears too.
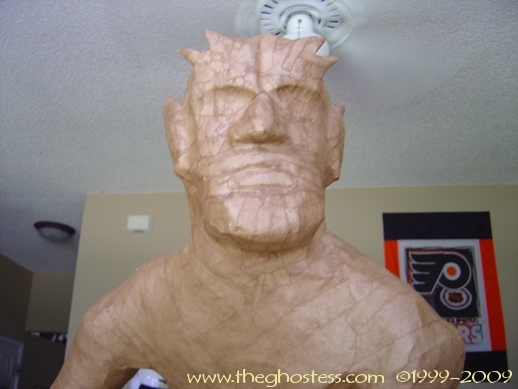
9-3-05 Here I added the horns. I just used the foam cutter to cut some foam pieces to look like this shape and papered them on. I did the same with the rest of the facial features: the brow, cheekbones, lips, nose...etc. I just cut some of the thin wafer pieces of foam I started with into shapes that matched up what I was going for, then papered them on, adding more foam where I needed it til I got the right look.
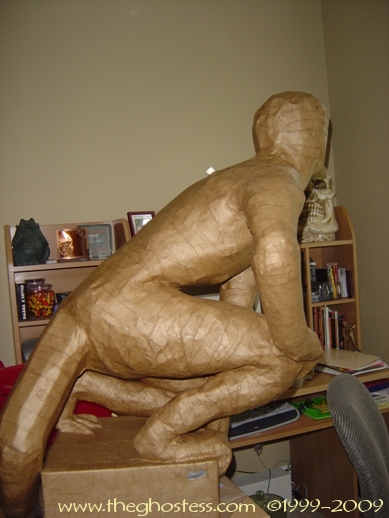
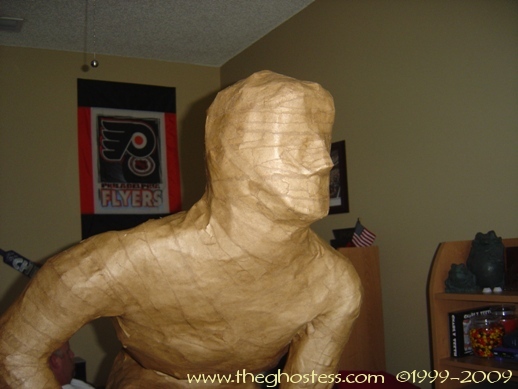
9-4-05: His head is almost finished now, I just have one more section of hair to add. He looks out of proportion in this picture, but he's getting bigger muscles and stuff too, so he should look more even soon. I think too, that it was the angle that I took the shot.
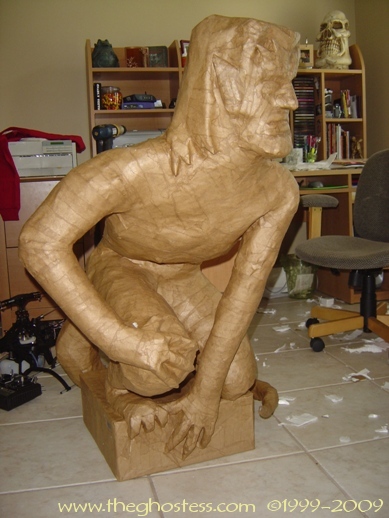
9-6-05: I've been working on him a little at a time this weekend due to some Labor Day plans, but I did get him filled out some in the chest, abs, arms, and shoulders. I'm still working on the arms.
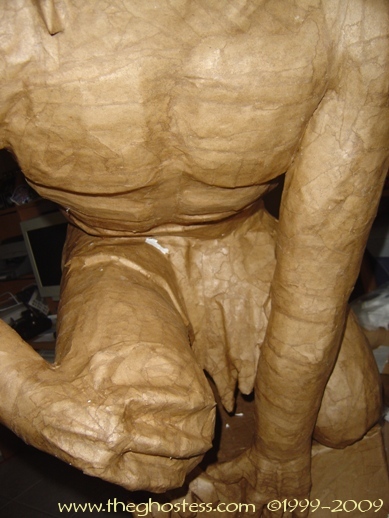
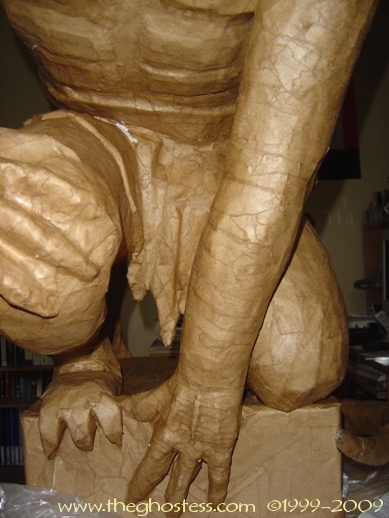
9-9-05:
Here he got a loin cloth.
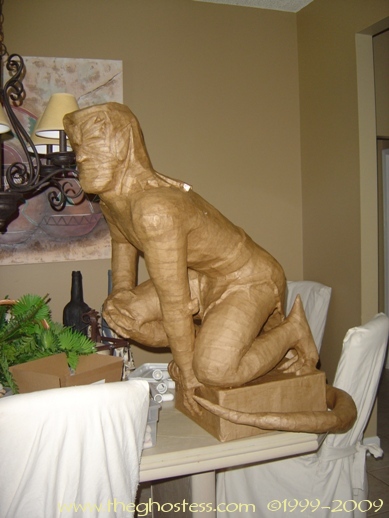
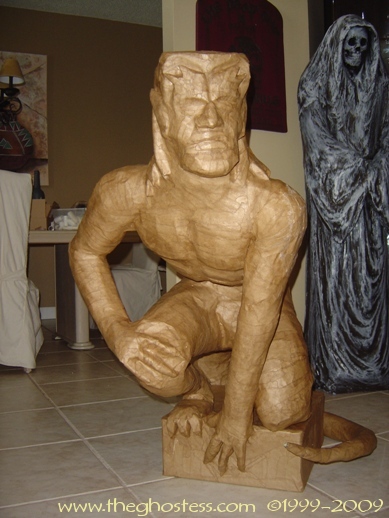
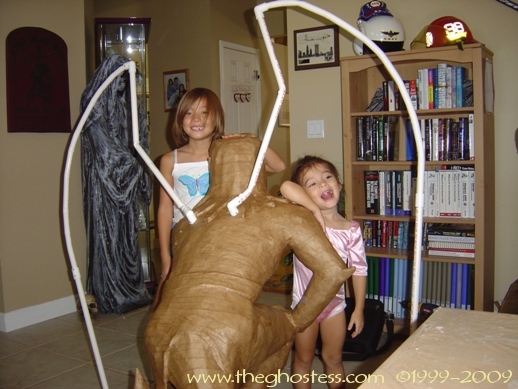
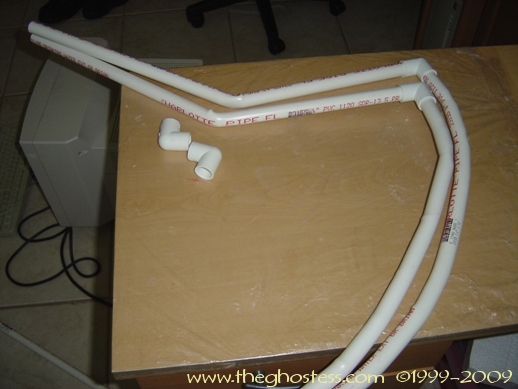
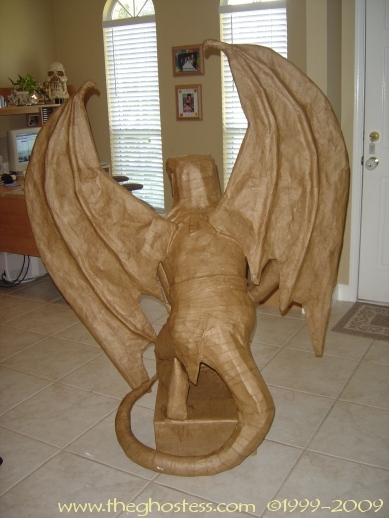
9-10-05: I decided to make the wing frame from 1/2"PVC. I used a heat gun to bend the PVC into the shape I wanted and attached them to the PVC posts I left exposed in his back. I secured them with screws after I positioned them the way I wanted.

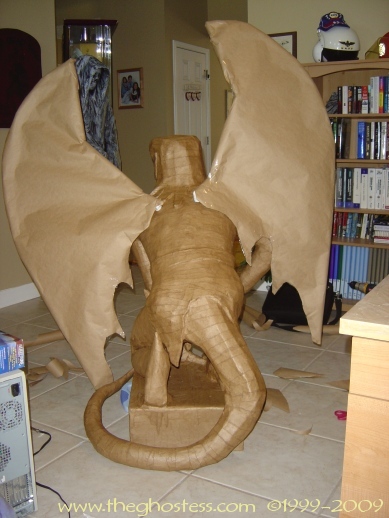
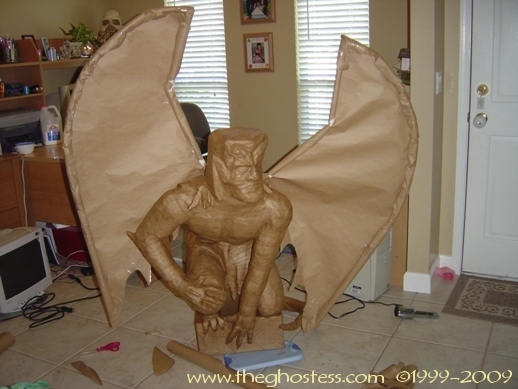
After I got the wing frames attached, I cut 2 long sections of craft paper and taped them to the frames.
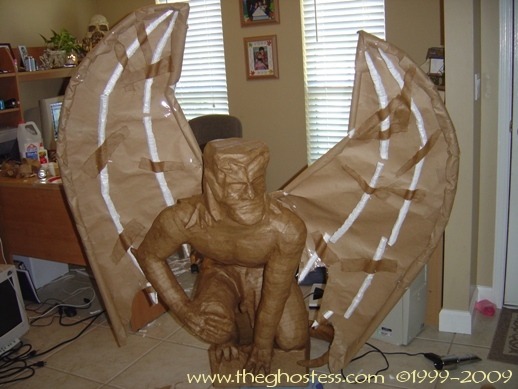
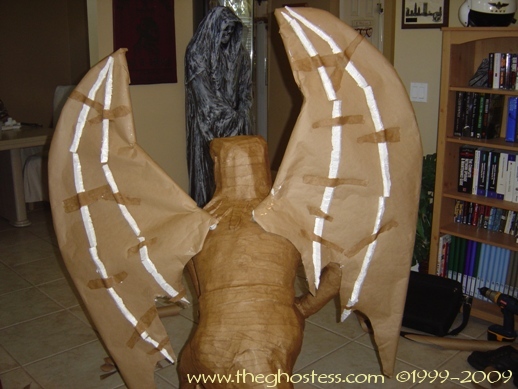
I cut some strips of styrofoam with the WonderCutter and attached them to the wings with strips of paper mache on both sides.
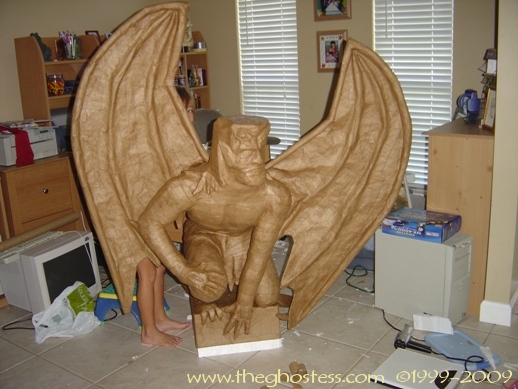
At this point with the wings papered, he was getting a bit front-heavy, so I cut a wedge of styrofoam and put it under the front of the base and papered it.
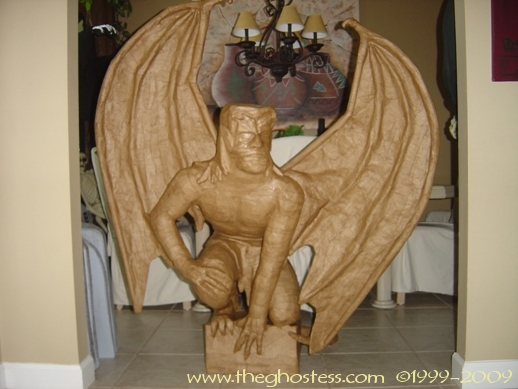
9-11-05: He got his base coat of paint tonight.
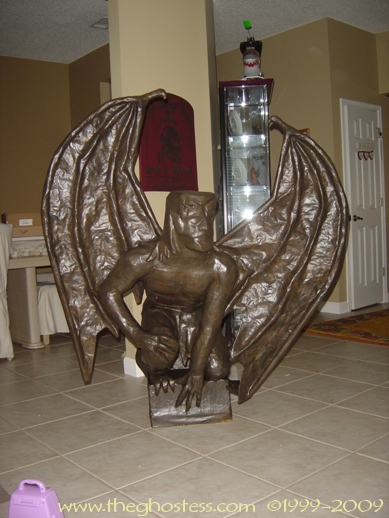
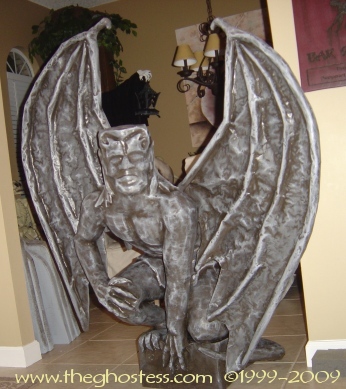
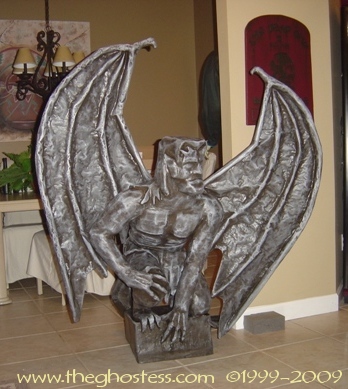
Goliath is FINALLY done! I got to be in a hurry at the end of painting him, simply because I am tired and just wanted it to be done TONIGHT... so the paint job isn't the best. I may go back and repaint some of it, but for now it'll do. I just want to move on to other stuff now. :)
He has 2 coats of a base black, 1 coat of a dark gray, a light coat of more black in the crevices, then medium gray kinda rubbed on with a sponge, and then light sponging of a light gray. I wanted him to have a stone look. All finished, he weighs 25 pounds.
I learned a few things making him. I would use brown packing tape instead of duct tape. It's cheaper and lighter. I'd skip making my own glue. The home-made stuff worked fine, but it's a pain to make. I ended up buying a gallon of Elmer's Glue at Home Depot for 10 bucks after the first 2 rounds of making my own glue. I'd make a larger base for him to sit upon. And I'd make him in a position that is easier to paint!! It was a funny sight to see me trying to paint underneath his loin cloth. Thankfully, no one thought to take pics of that!
In 2007, Goliath got a makeover. Click the NEXT button to continue.
![]()
![]()
![]()
![]()
All information contained on this website www.theghostess.com is provided for FREE, is intended for entertainment purposes and general sharing, and may not be reproduced without express permission from the website owner. If you have been sold information regarding or taken from this website, please contact the admin at the link in the navigation menu. Copyright 1999-2020, The Dead End.