
|
|
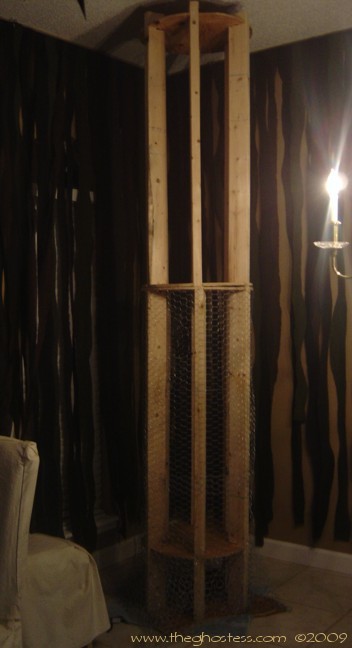
To the left stands the original frame. I had to disassemble it because it was WAY too heavy. I rebuilt it using the same design, but with 1X4 instead of 2X4 wood. It's HALF as heavy as the first time that I tried to build it.
I used a couple of different sites for ideas on how to build the frame,
this one is the main idea behind what I did:
I made two sections of frame and used ply wood
circles for the brace parts, cut in the shape of a donut. When
I got the frames assembled, I sat one on top of the other and
drilled holes in the donuts so I could use really big bolts and wing
nuts to attach them together. I did this so I would be able to
take it apart if I had to. I cut a random shaped base for it
and covered the bottom of it with some extra burlap so it wouldn't
scratch the floor.
Then I wrapped it all in chicken wire. |
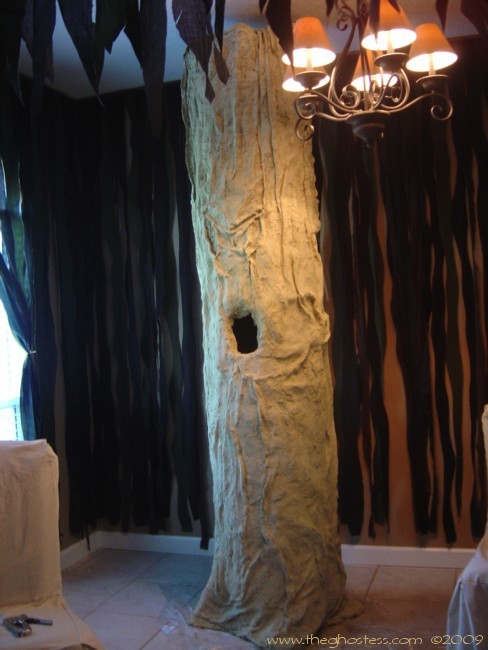
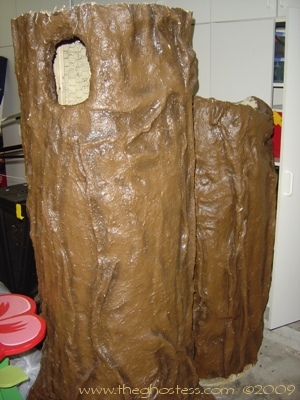
I took the tree outside and laid it on its side to get the initial covering of burlap and monster mud. I tried dipping the burlap, but the pieces I was using were just too big, so I laid them out on a big piece of plywood and wiped the monster mud on with my hands, then draped it over the tree frame, making sure to bunch it up in some places to give the tree some character. Here, the tree has one coat of burlap and mud all over, and I've halfway mudded the second coat over it by hand, just smearing it on. I left a hole in the tree so I can get to the bolts and wing nuts if I have to. I tried to shape the burlap to give the tree some eyes too, but they don't show up well. My ceiling is 9'8" in the dining room, and the tree is about 4 inches shorter! |
 |
 |
Unfortunately, for practical reasons, I had to put my furniture back in my dining room. I played with some foliage a little, since I couldn't paint yet because there was a hurricane (or 3) knocking at our door. |
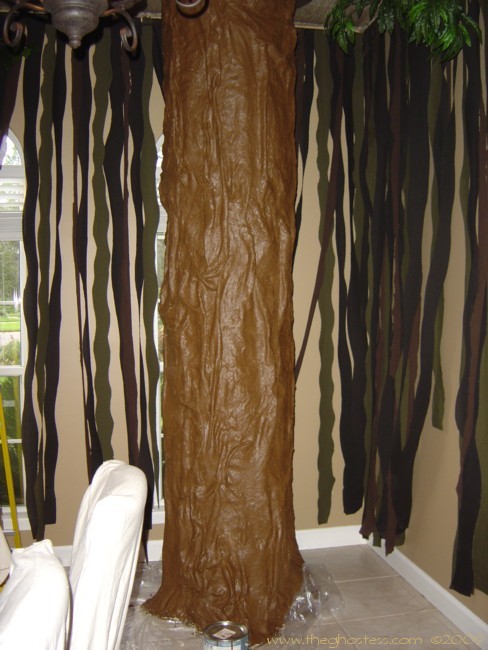
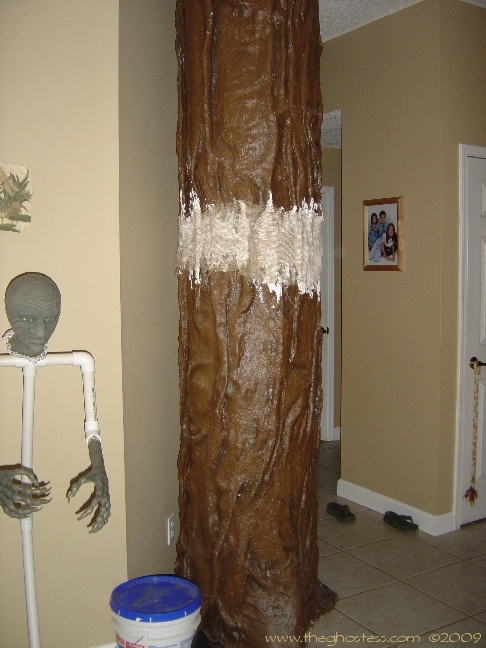
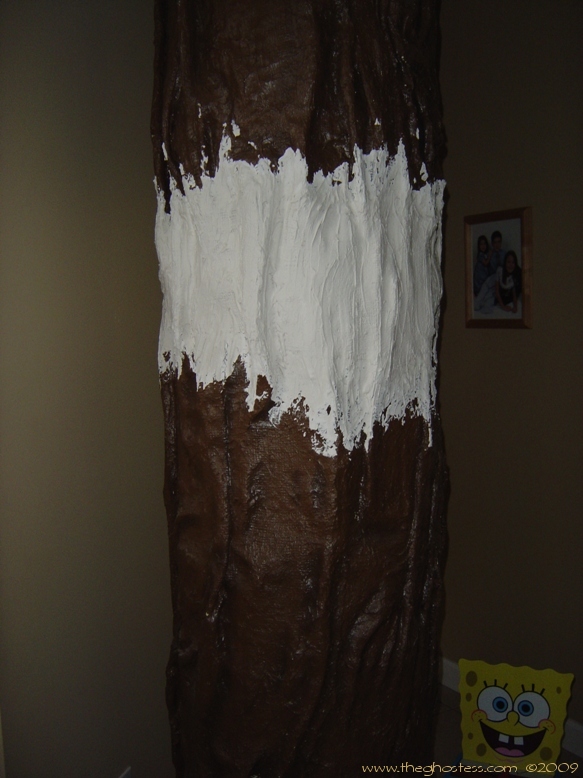
This is the back side of my tree after the first coat of paint. It's a bit too shiny for my taste, but in the dark, it's not so bad. At this point, I still have another coat of paint to add and some shading and texturing to do. |
 |
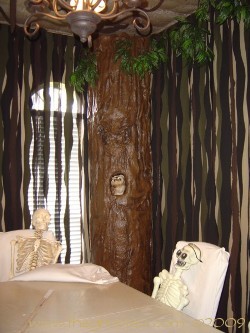 |
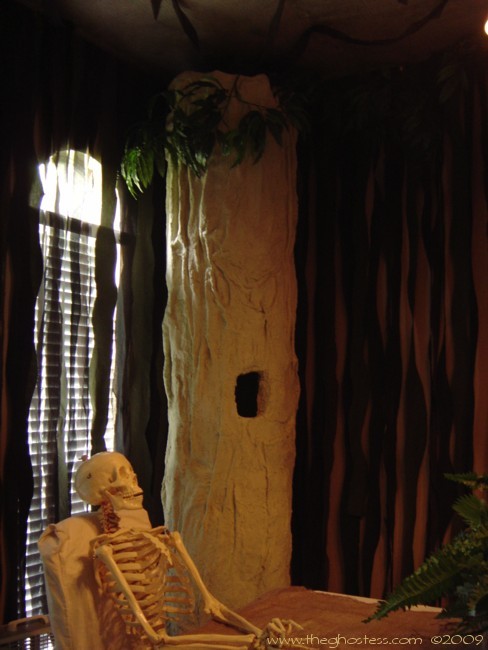
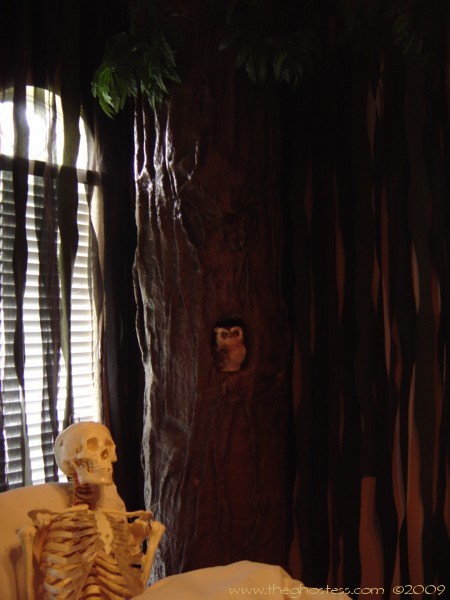
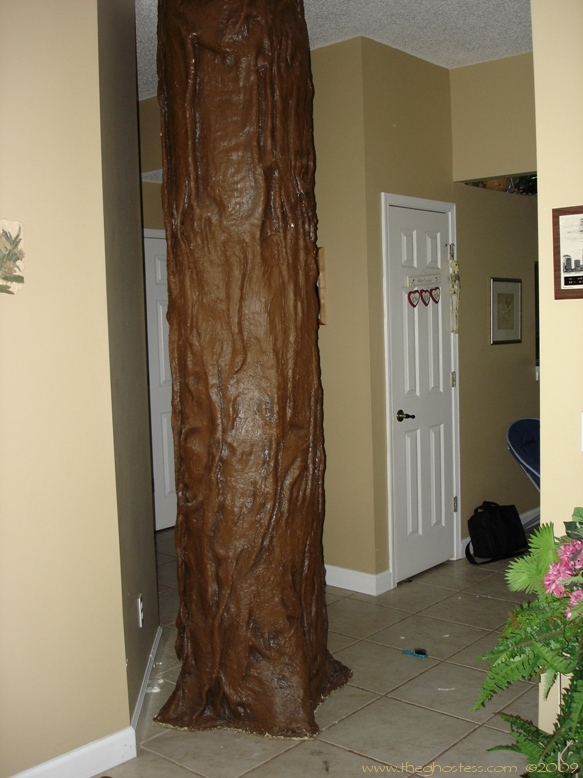
This is the final product. The pics aren't too good because the time of day, with too much glare from the light coming in the windows. Still a bit too glossy with the paint, but it looks FABULOUS at night with the lower lighting. |
The owl may or may not be staying there in the tree, unless I decide to throw in some LEDs for the eyes and make him a perch to sit on inside the hole in the tree. I'll be adding more foliage to the ceiling as it draws nearer to the party. With all the trouble I went through to build this thing, I could have just waited and brought in one of the 4 trees that blew over from hurricane Frances. |
 |
|
|
In July of 2006, I decided to take the tree apart. I'm not quite sure why I did that, I guess I was just being a woman. But the process took about 15 minutes. I figured where the tree's frame was joined together, used a big knife and cut the monster mud and burlap, then used the wire snips to cut the chicken wire. All that was left was to unscrew the nuts and move it in two parts to the garage. |
|
In September, I put the tree back together and brought it back in the house. I used some scrap pieces of burlap and just kind of patched them on the part I cut with some joint compound. |
|
|
|
I coated it well with joint compound to cover the patches. |
And then I painted over the patched area. I
never got around to touching up the shadowed areas, but it was dark, no
one even noticed and nobody believed it was in 2 pieces just a month
before. |
|
|
|
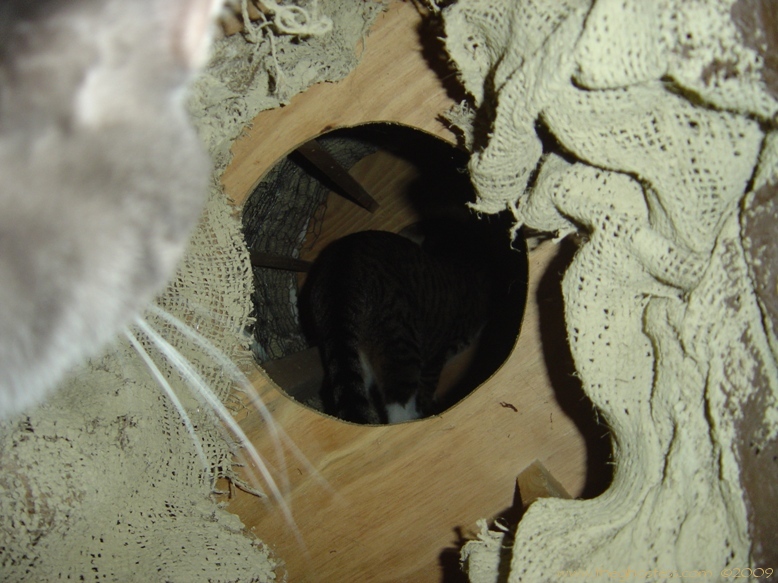
I took this picture on the day that I finally took the tree completely apart in March 2007. You can see the inside of the tree, and my nosy cats. I want to make a newer lighter tree, so I sacrificed this one. I saved the wood and chicken wire for new projects and threw out the mudded burlap.
A moment of silence for the tree.... |
|
|
|
All information contained on this website www.theghostess.com is provided for FREE, is intended for entertainment purposes and general sharing, and may not be reproduced without express permission from the website owner. If you have been sold information regarding or taken from this website, please contact the admin at the link in the navigation menu. Copyright 1999-2015, The Dead End.