|
This is my new scarecrow head. I sold the Pumpkinrot replica I made last year, so I need a new scarecrow head. I usually name my props by what inspire me or sometimes I pick up a word that sticks in my head while I am working on the prop. My friend SkullBoy's obsession with skulls inspired me on this one, so I named it in his honor. |
|
|
|
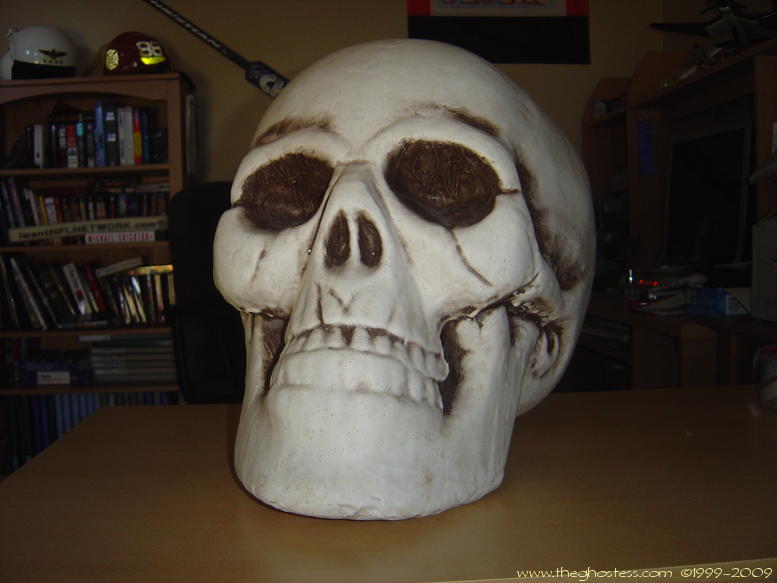
I started with one of those foam Big Lots giant skulls they were selling for 30 bucks. I bought it a couple of years ago, and never did anything with it. I figured it'd make a good base for something new. |
|
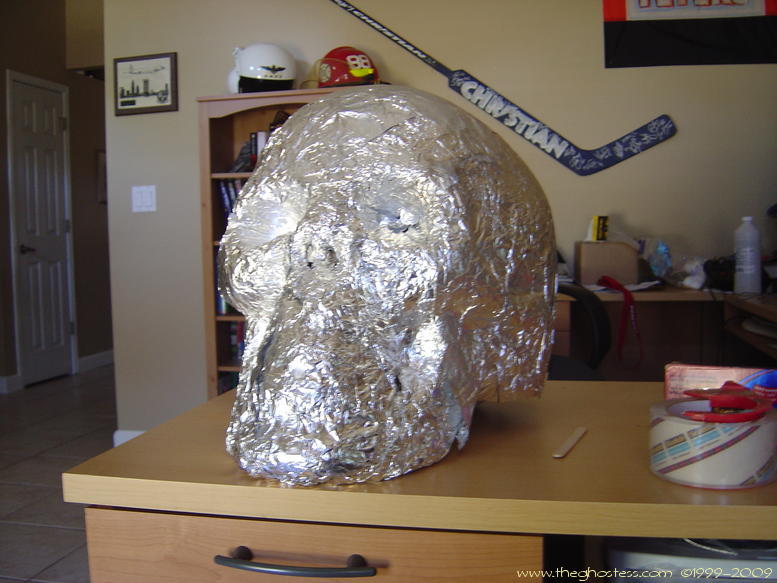
I covered the skull in aluminum foil, taping the edges with some packing tape, and smoothing the whole thing down with a popsicle stick. I only worked with the front half of the skull for now. This part of the project must be done in two stages like the pumpkin for last year's project was done. |
|
|
|
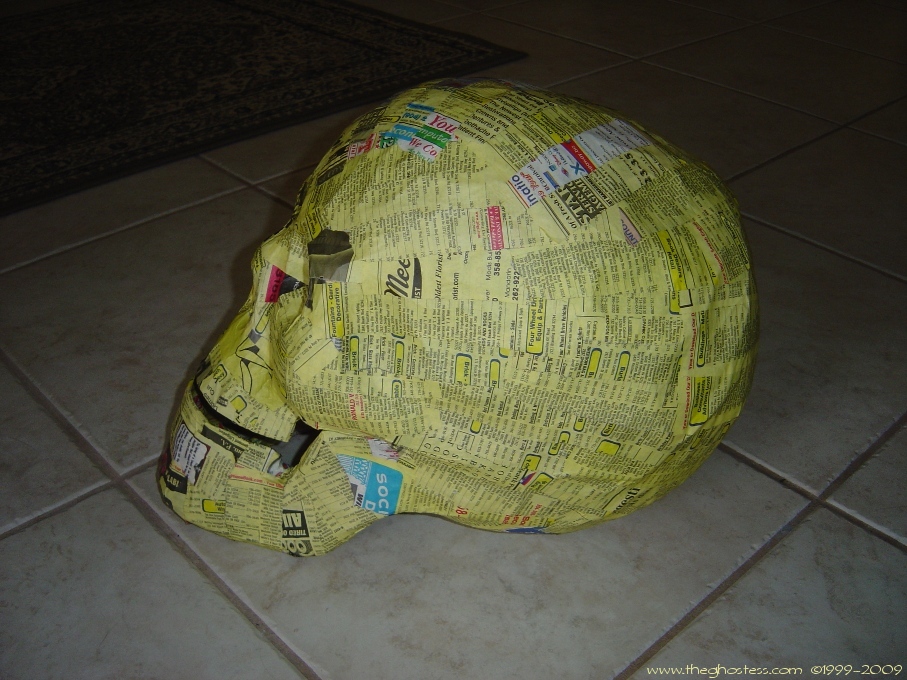
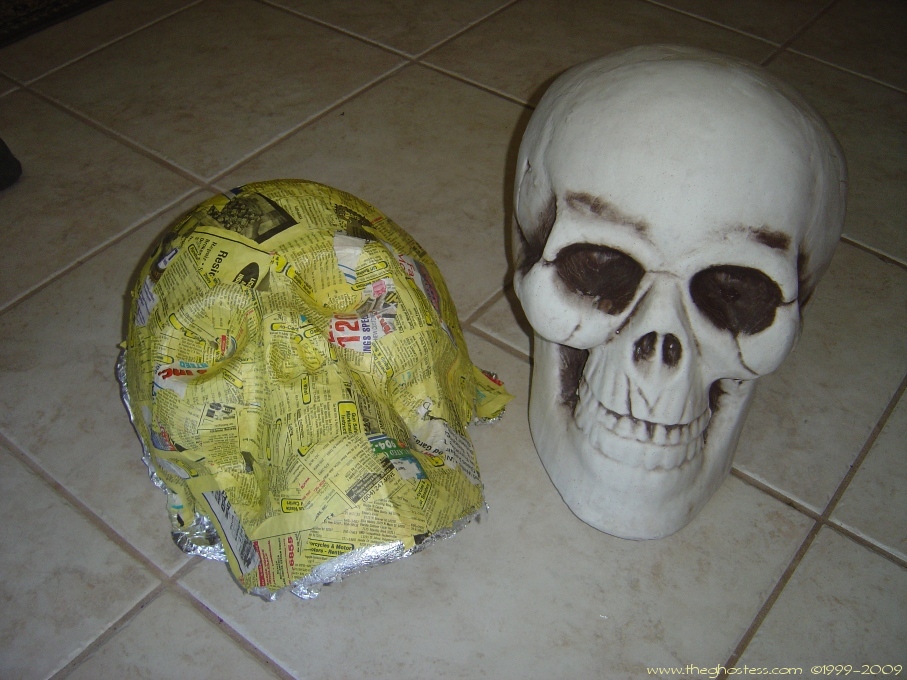
Then I went to work with the mache'. I use a mixture of 2 parts glue and one part water, with a little cornstarch, and for this project I recycled a phone book! To make coverage even, I like to alternate between white and yellow pages so I know where I've already covered when I have "help" from my little assistant. I repeated the process with the back side of the skull after I removed the front part. I believe I used 4 layers of mache' on each half. |
|
When the back side was done, I pulled it off and then taped the two halves together with some masking tape. I forgot to take pictures of this part. |
 |
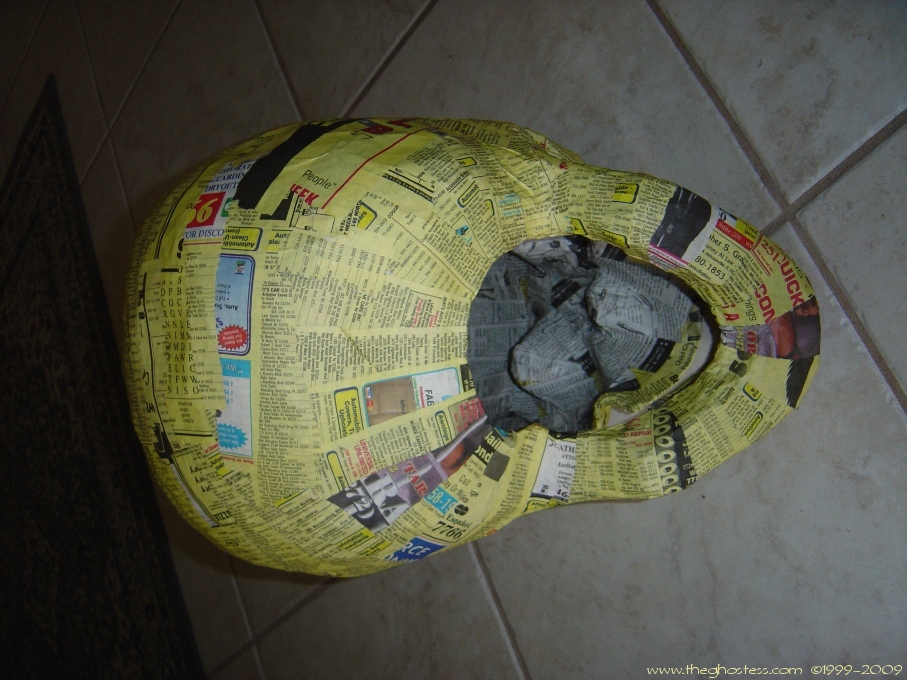 |
Once I got it taped together, I cut a hole in the bottom of the skull so I could access the inside. |
|
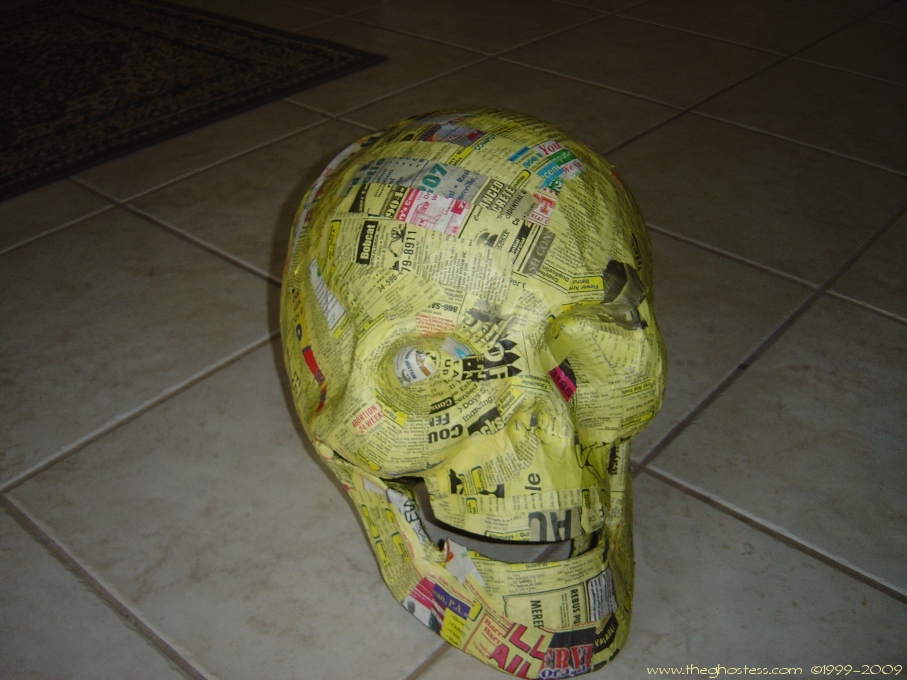
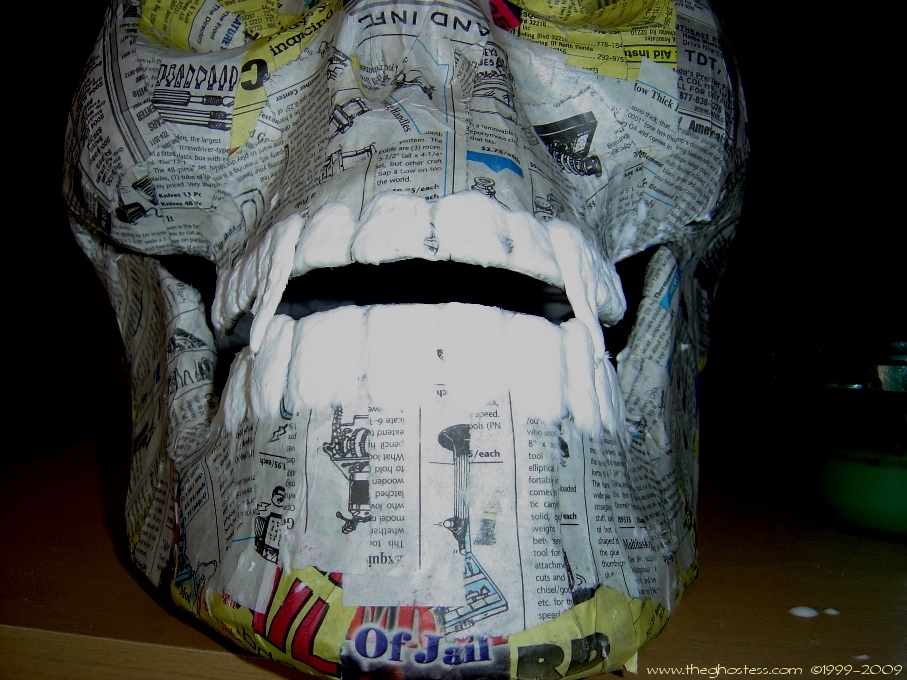
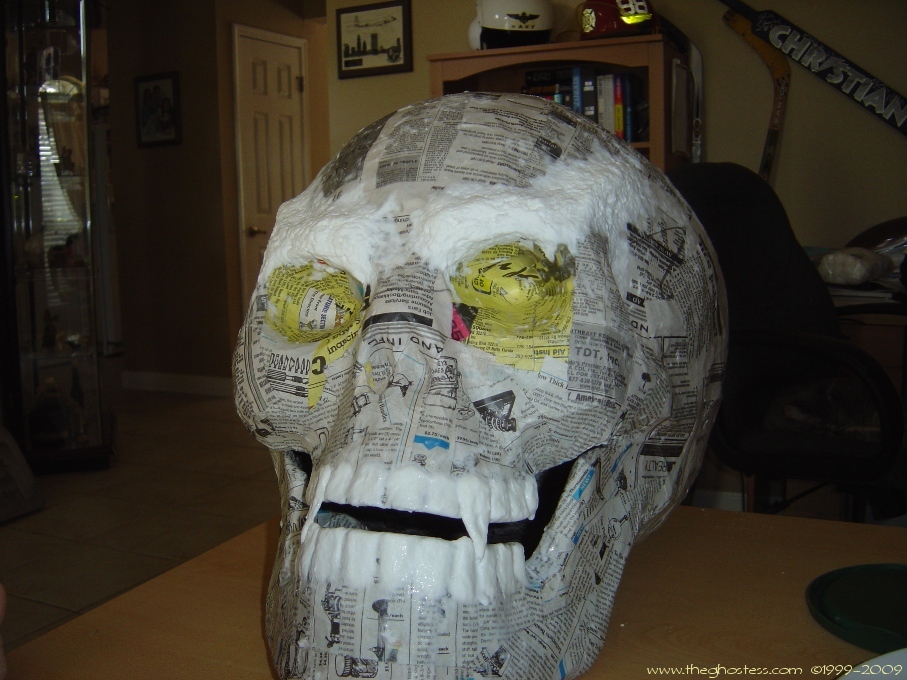
Then I cut along between the teeth and along the jaw for an open mouth. I had to use some tape and spare cardboard pieces in the corners of the mouth to kind of hold it open. |
 |
 |
Once I got everything taped and cut the way I wanted it, I applied more papier mache' on the inside and the outside. Again, I applied another 4 layers of paper inside and out. |
|
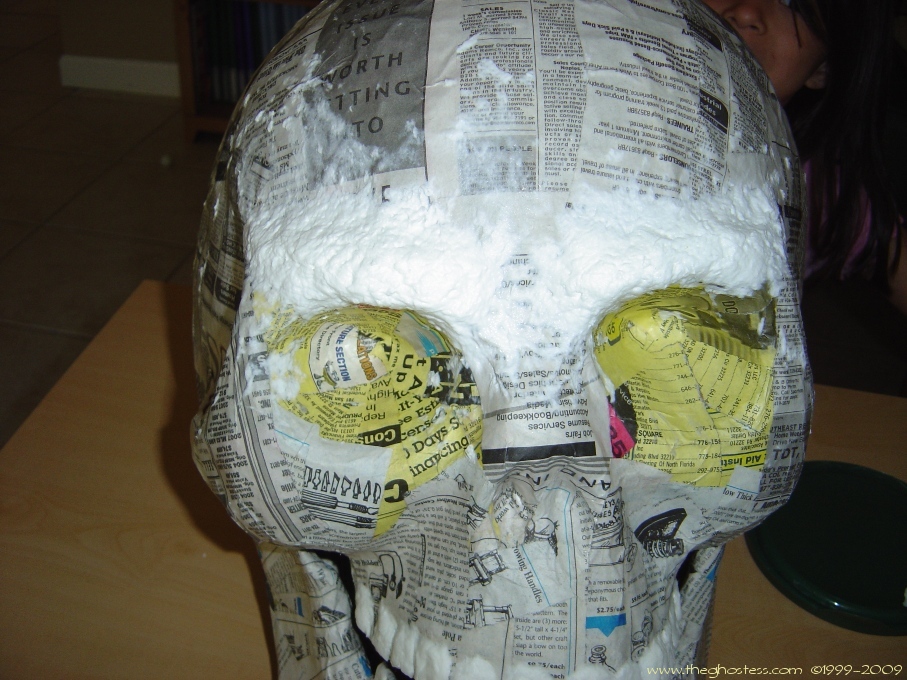
Got some dental work done. I just folded up some toilet paper, then soaked it with glue and just kind of worked it until it was shaped like teeth around the mouth. I decided this guy gets fangs. |
 |
|
|
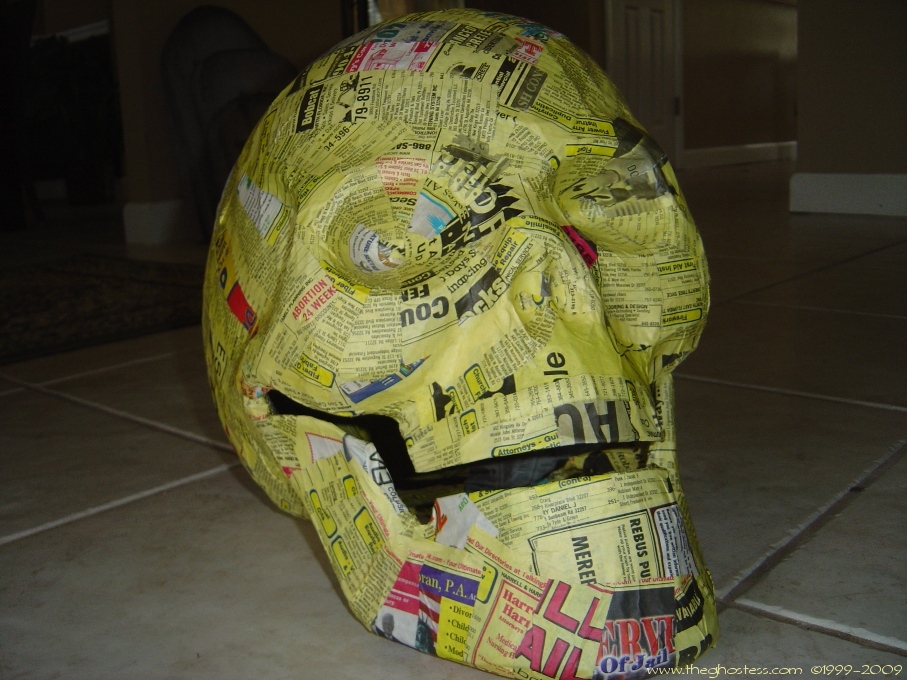
I also added some TP mache' to the brow area to make it look a little angry. You can't tell too well in the picture though. |
|
And I added a ridge along the sides of the forehead above the temple for added "sinisterness". |
|
|
|
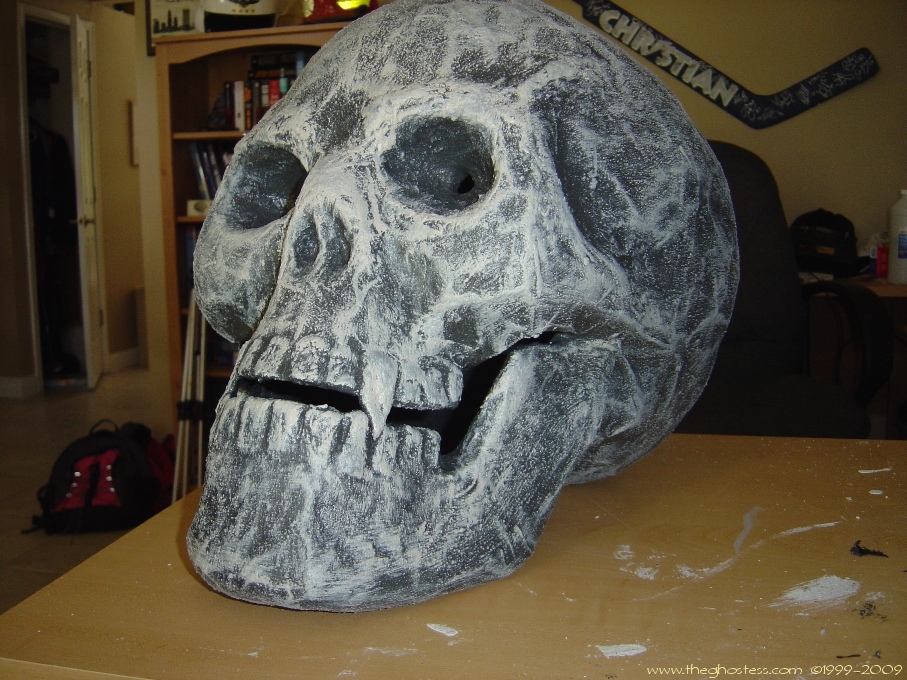
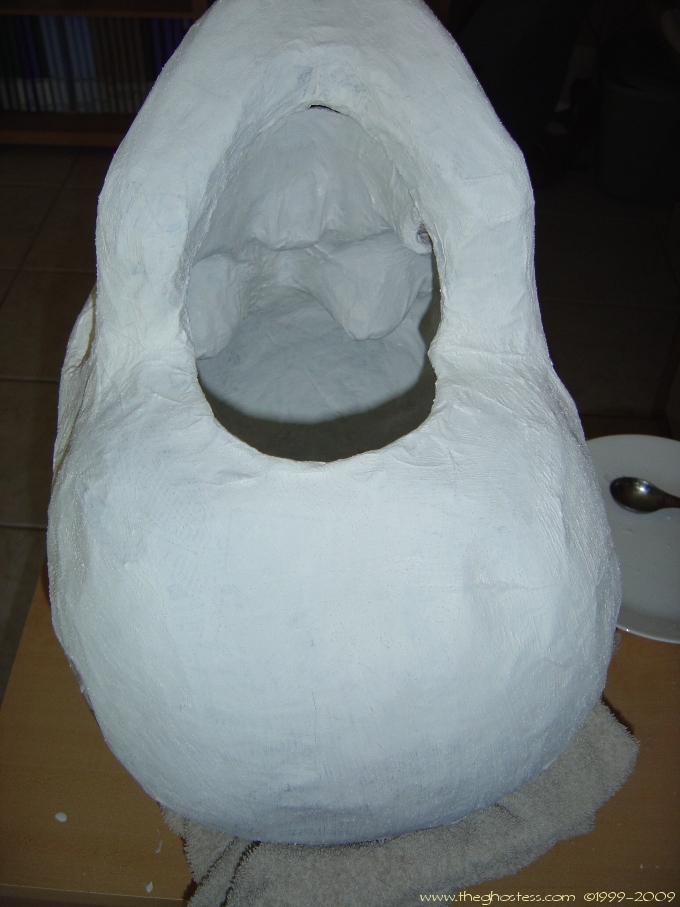
I decided I wasn't going to do any more construction of the face on this guy. So I busted out the DryLok and coated the inside and bottom of the skull. I have it sitting upside down in a big bowl so it can dry. I applied 2 coats of the DryLok. |
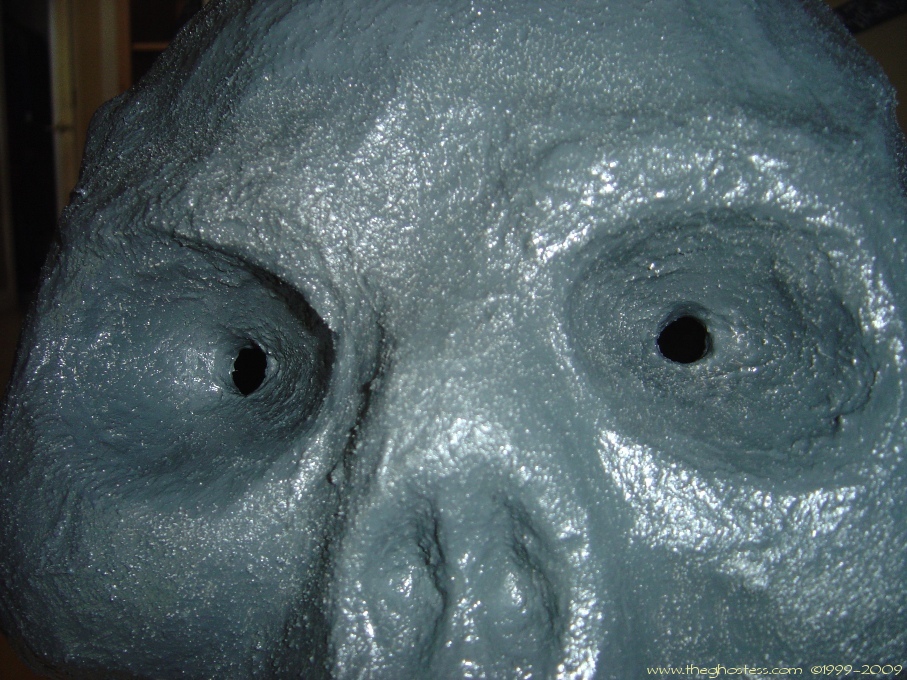
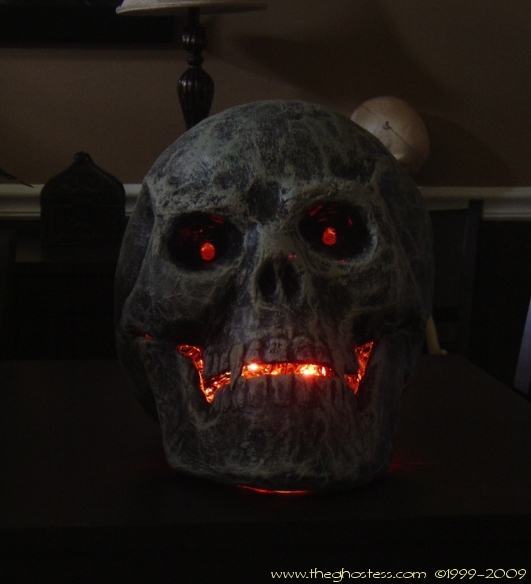
| I drilled holes in the eye sockets. I haven't decided yet whether to put in LEDs or just to throw a red light inside it. I drilled the holes before I painted so I could apply DryLok to waterproof it. |
 |
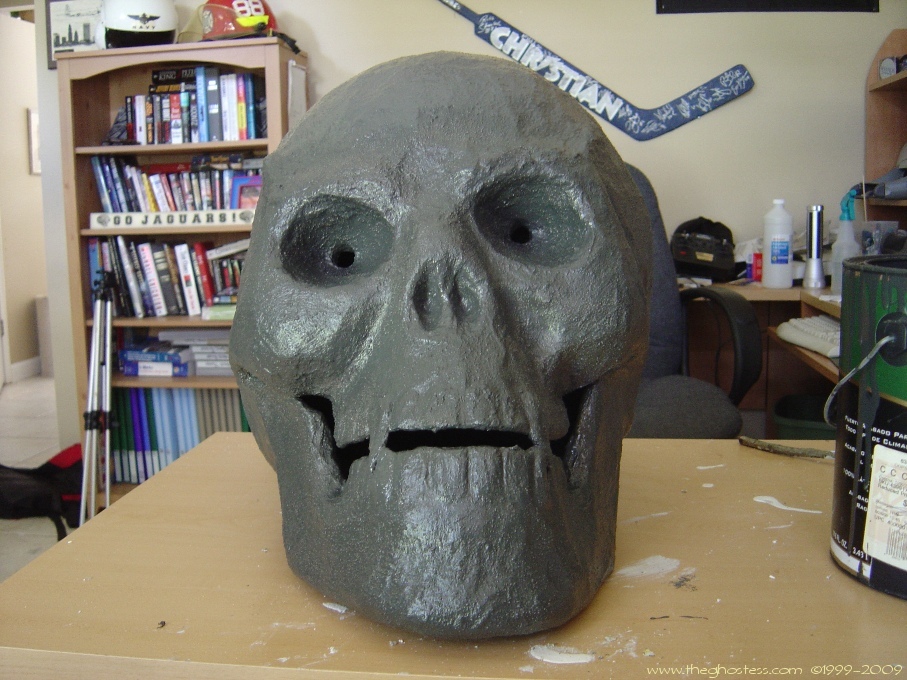 |
I painted the whole thing black - inside and out. |
|
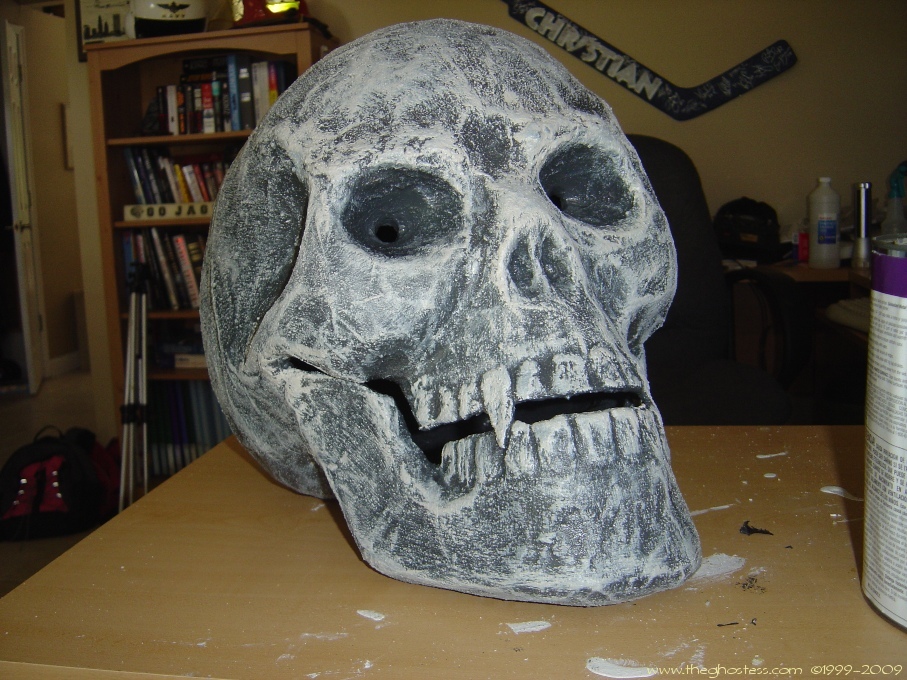
Then I dry brushed him with a beige paint. I give you:
Richard. |
|
 |
 |
|
|
|
|
|
|

All information contained on this website www.theghostess.com is provided for FREE, is intended for entertainment purposes and general sharing, and may not be reproduced without express permission from the website owner. If you have been sold information regarding or taken from this website, please contact the admin at the link in the navigation menu. Copyright 1999-2015, The Dead End.